|
For this project the first step that I had to do was find a video that would be good for editing. It took me about two weeks to find a good video. Finally I found Cole Sullivan, and I got one of his videos of him dancing. Then I looked up on the internet on how to make make affects and After Affects. It took me about three tries to finally get the right spot, where I wanted to start my project. Then I had to do trial and error until I finally finished the project. In total it took me a little over a month to complete this ten second video.
0 Comments
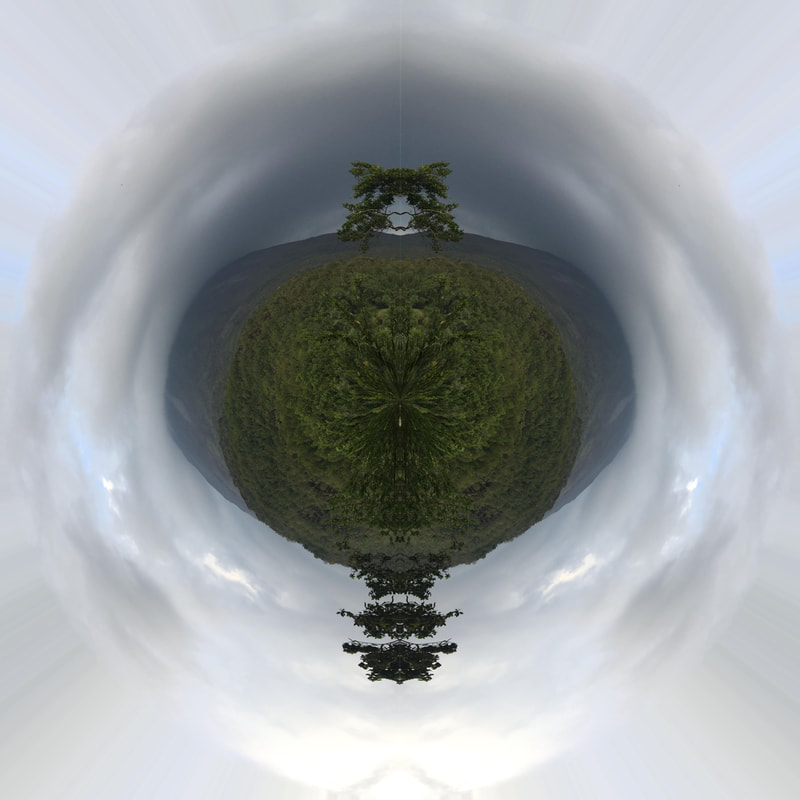
For this project I used one of my own photos and then put it into photoshop. I followed some steps the first time and made it into a planet. Then the second time I did it on my own without the directions.
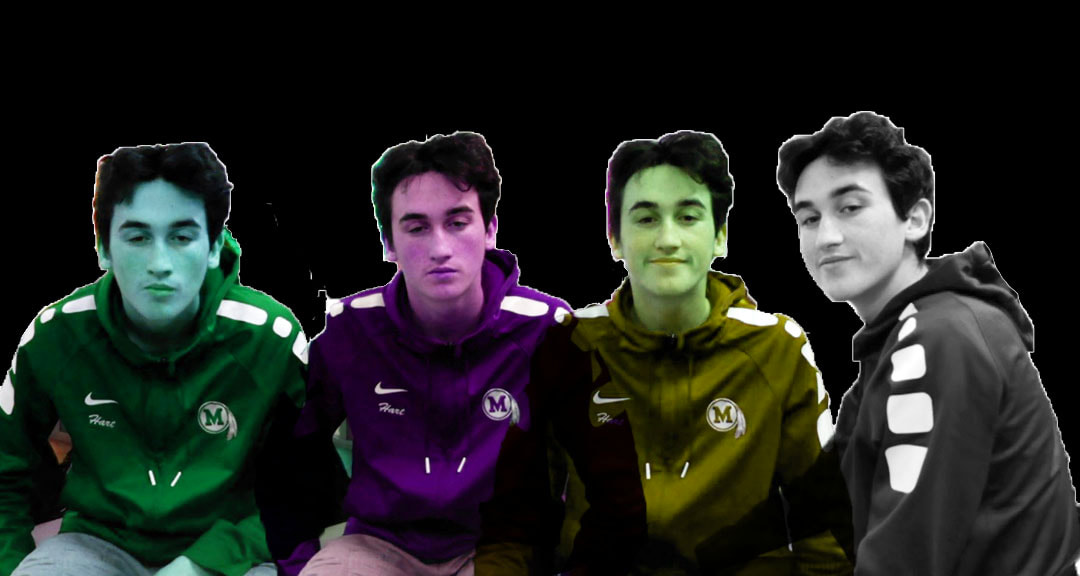 For the CMYK I had JD be my model for this. The idea of this project was to get a expression for each different segment of the week. Beginning, middle, end, weekend. Then I used the CMYK colors; cyan, magenta, yellow, and key colors.
For this project we had a challenge. We had a half an hour or so to compile a bunch of pictures. After that we had a class time to put it into a google slide. We had to use the elements and principals from the second blog post that we did.
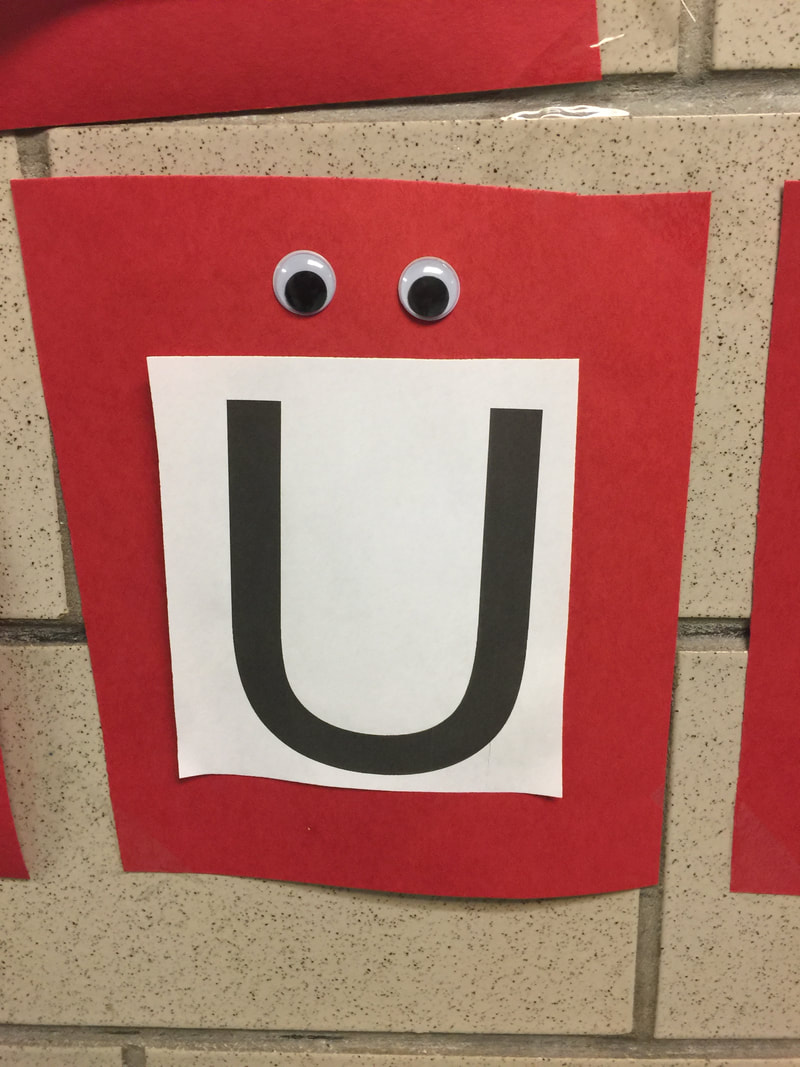
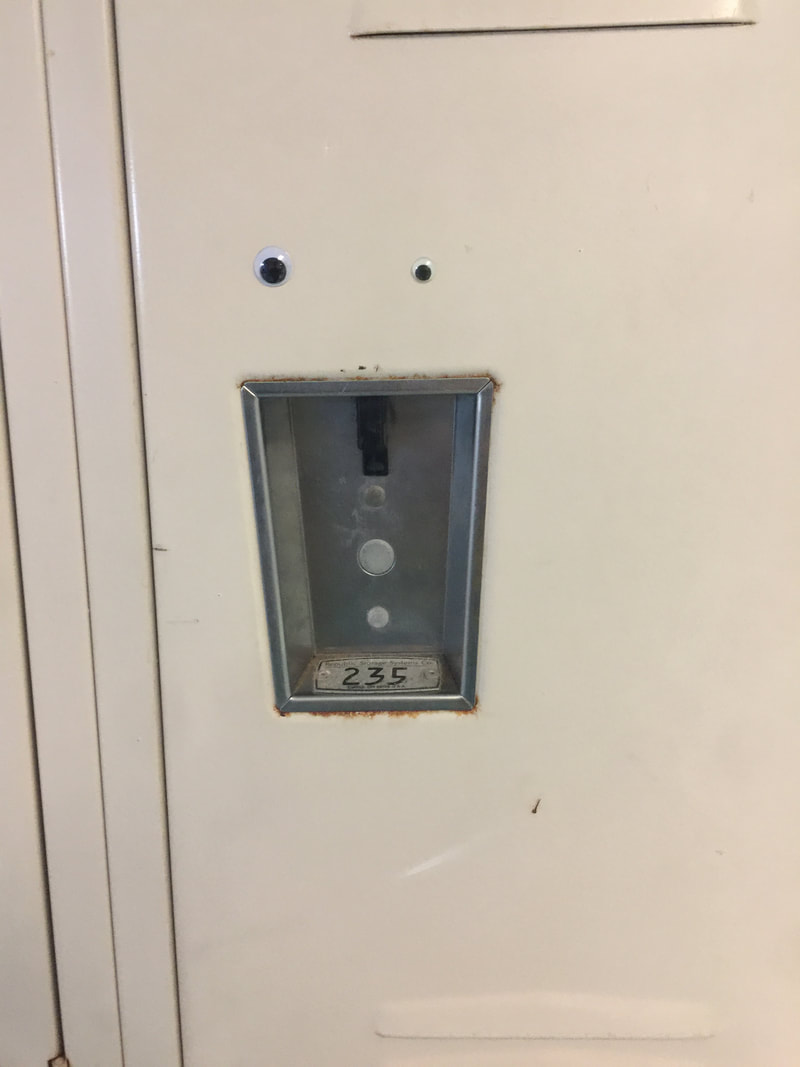
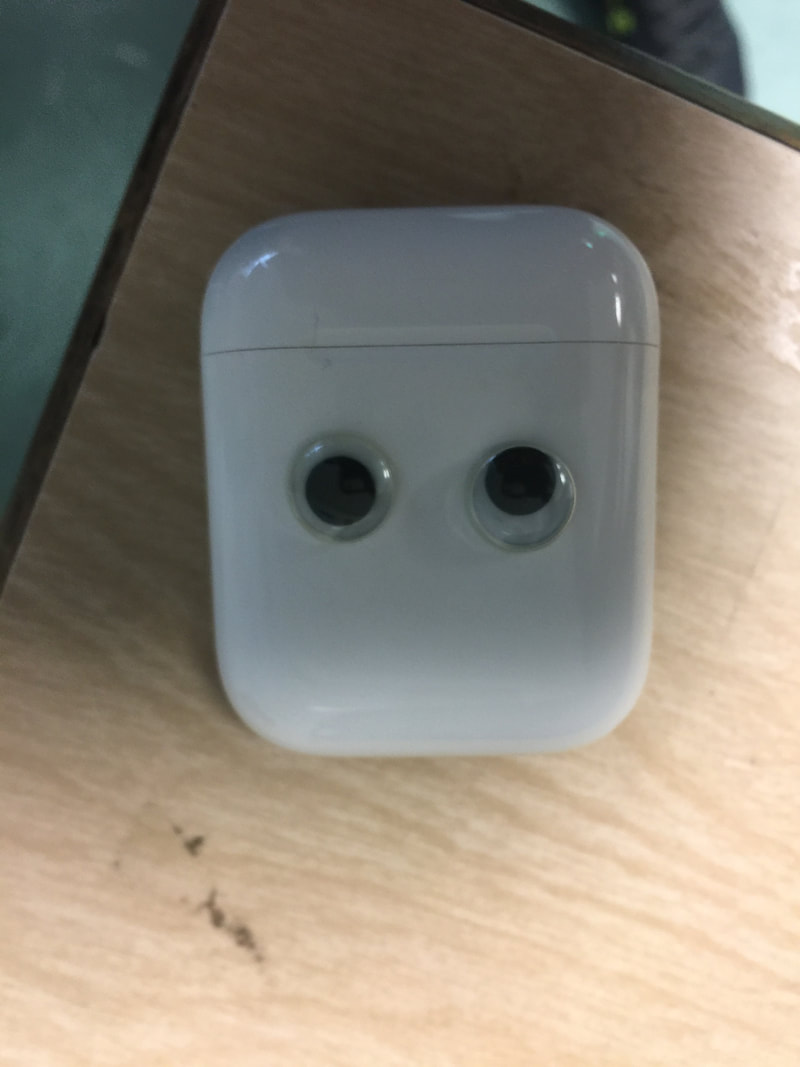
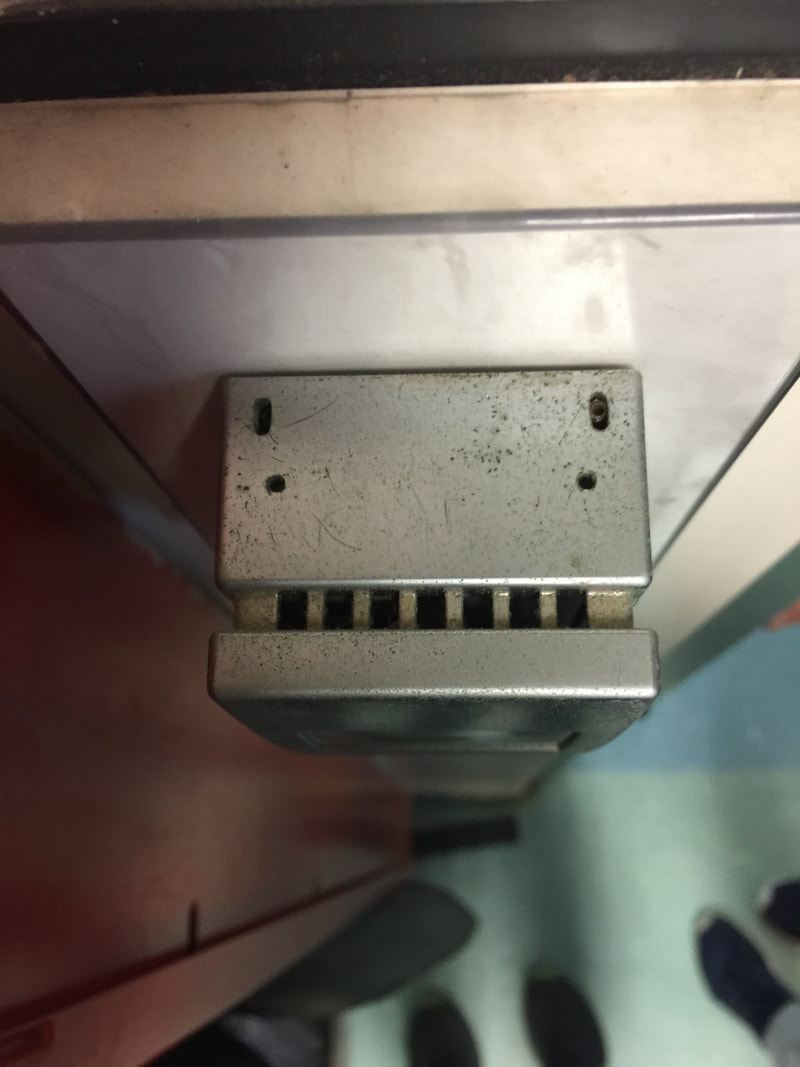
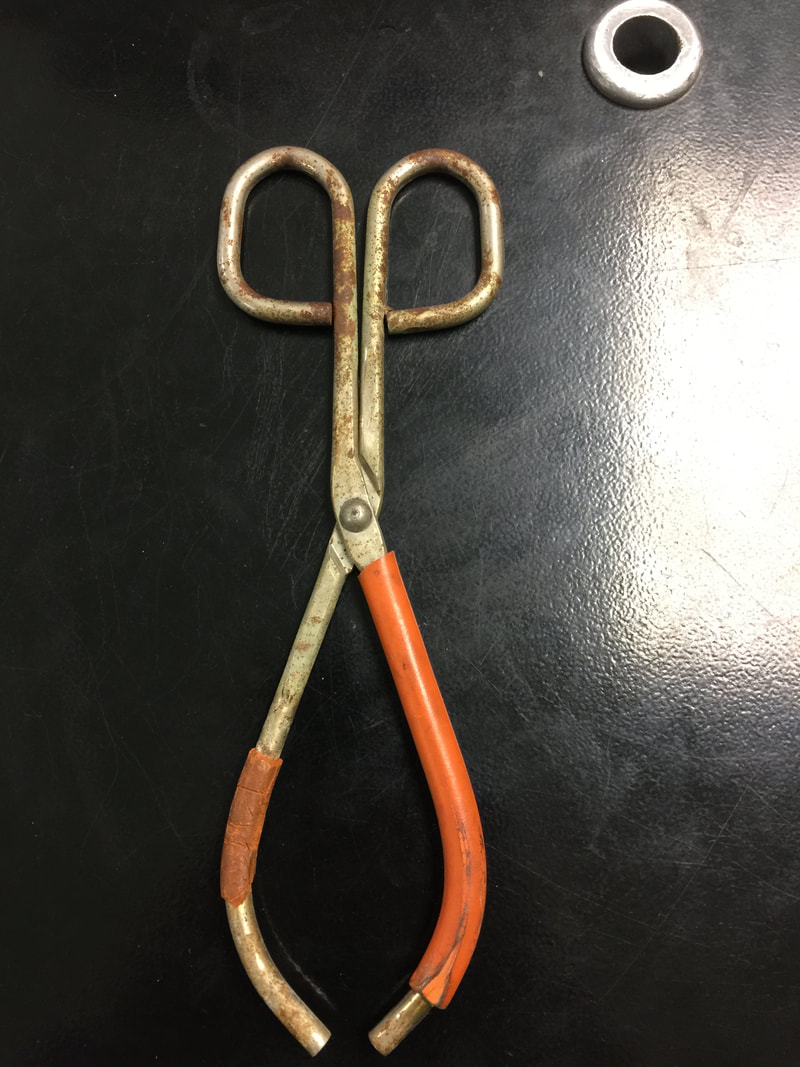
For this project Mrs. Haggerty gave us googly eyes and told us to walk around the school and to put them places to make funny faces. For another part of the project we were told to find faces that were in the school.
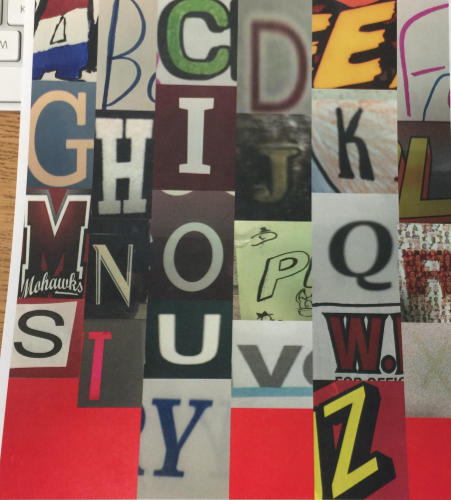 For this project I went around the school and took photos for every letter in the alphabet. Then I got the photos on my computer and put them in alphabetic order. I printed the photo and put it on weebly. I lost the psd and the jpg after I printed it and thats why I don't have the jpg in this post.
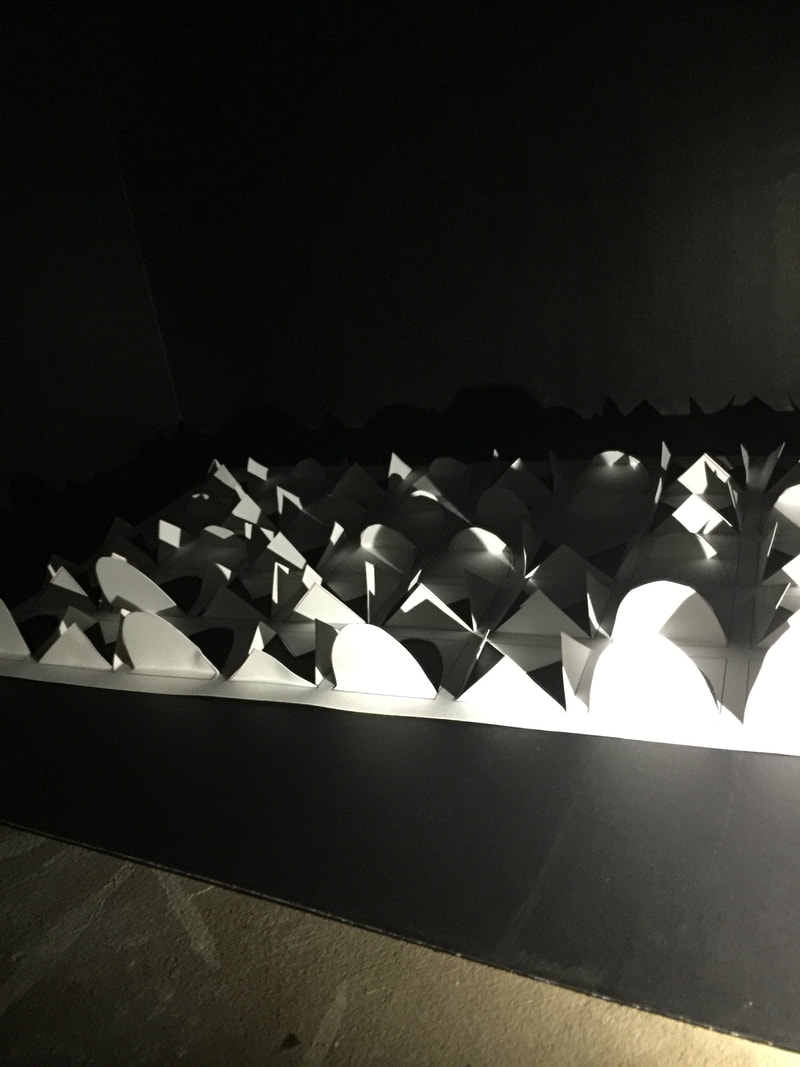
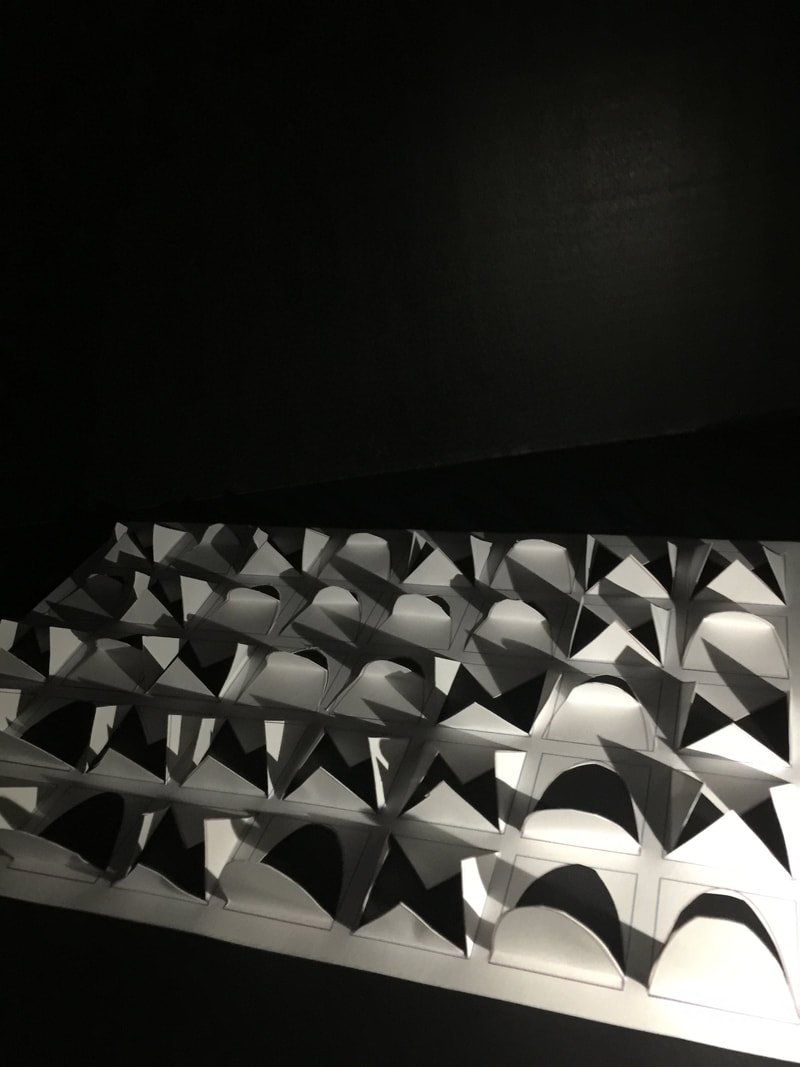
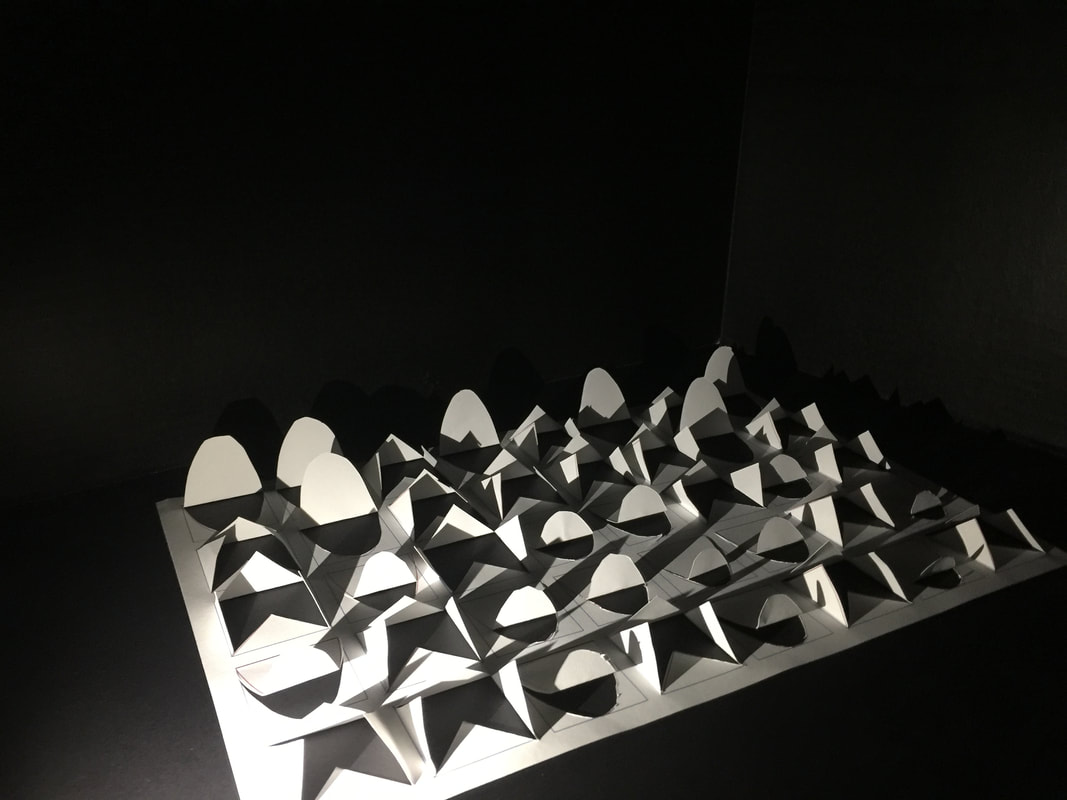
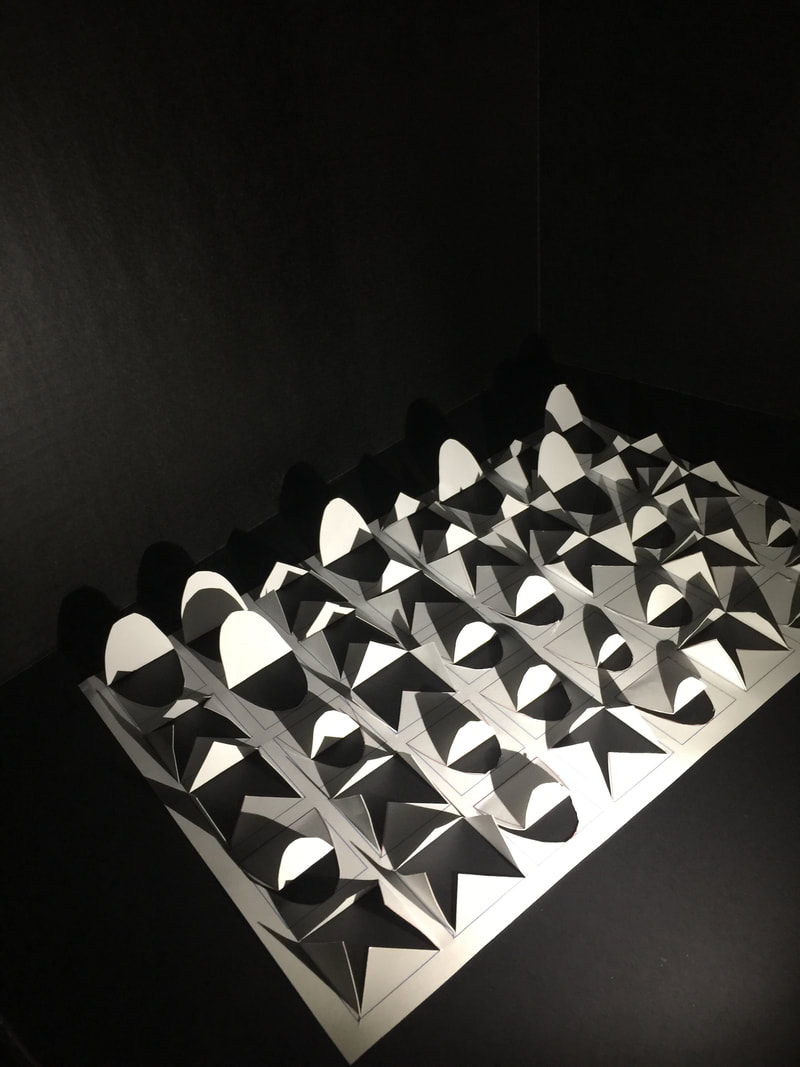
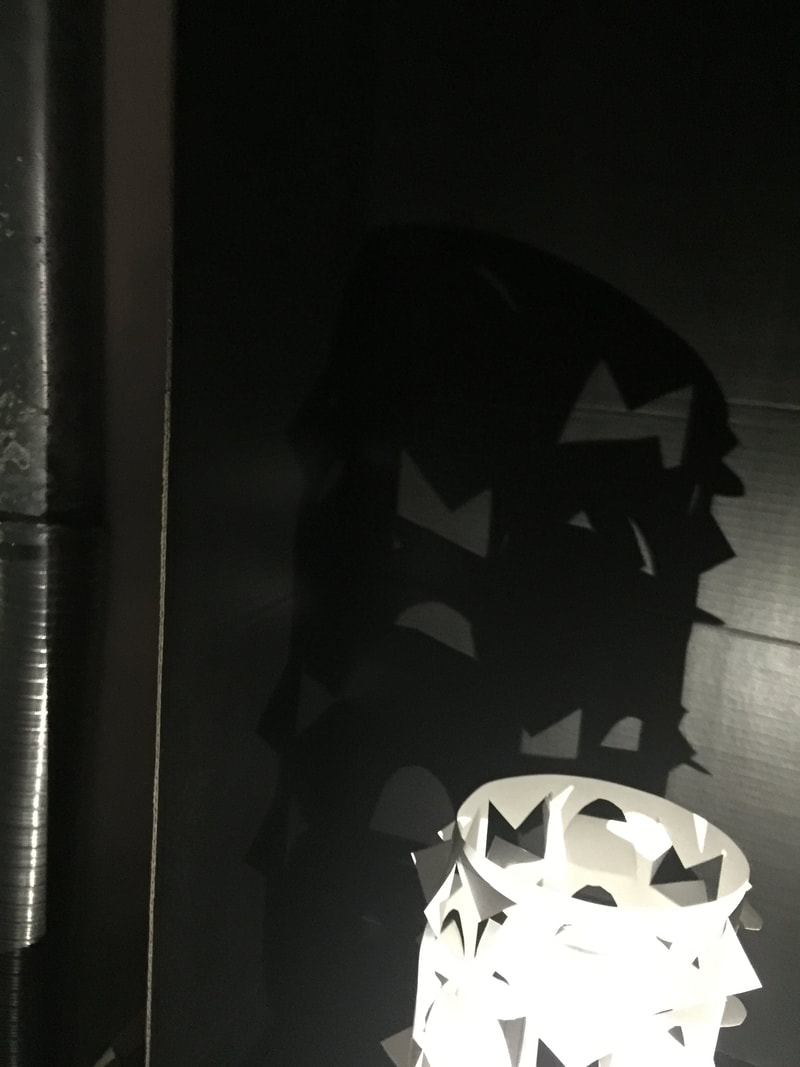
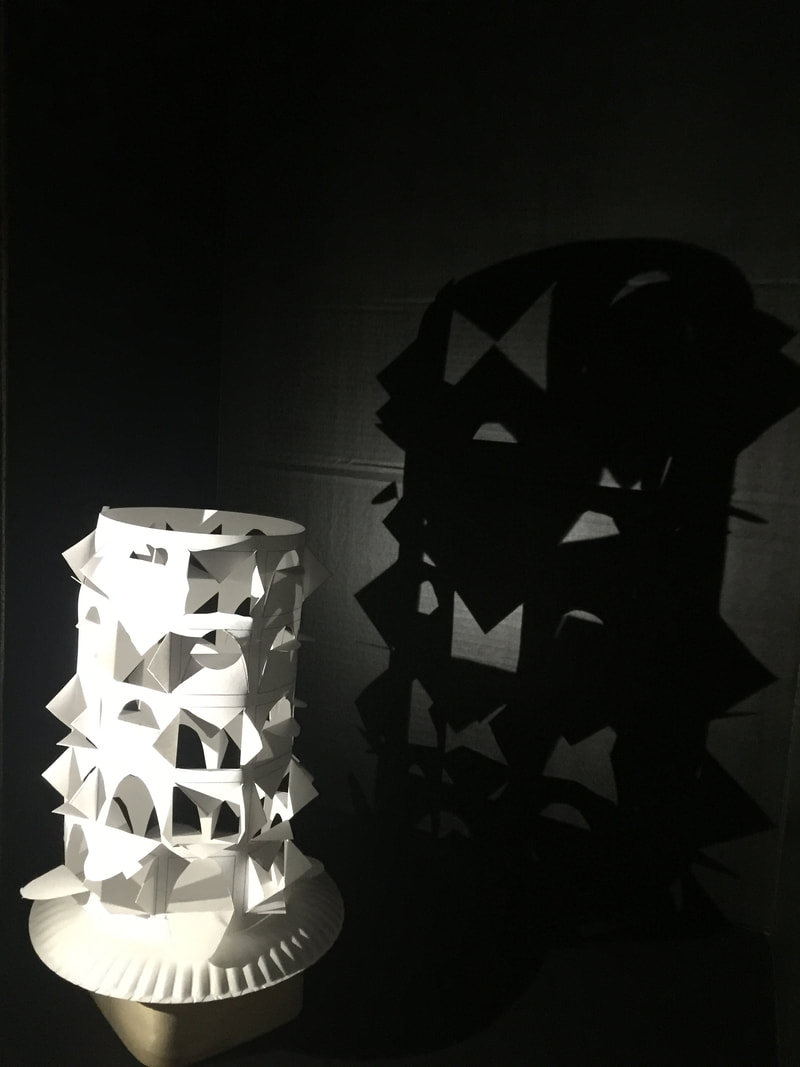
For this project we were instructed to make a design in illustrator. Then we printed it and cut all of it into certain shapes. Then we took photos with a light pointing at the art, after that I took my photos. Then I rolled it up and took photos with it in a 3-D way. To con stray a cool look and shape.
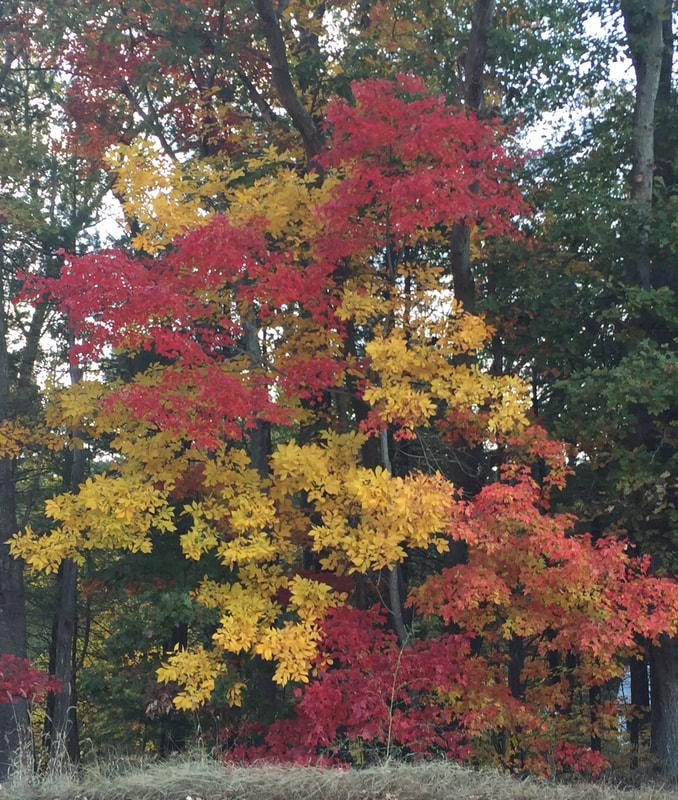
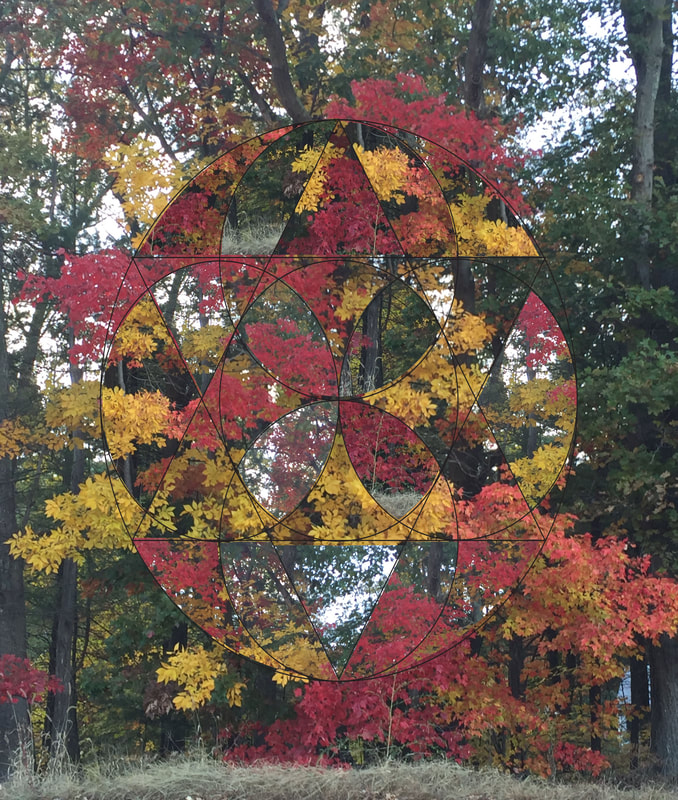
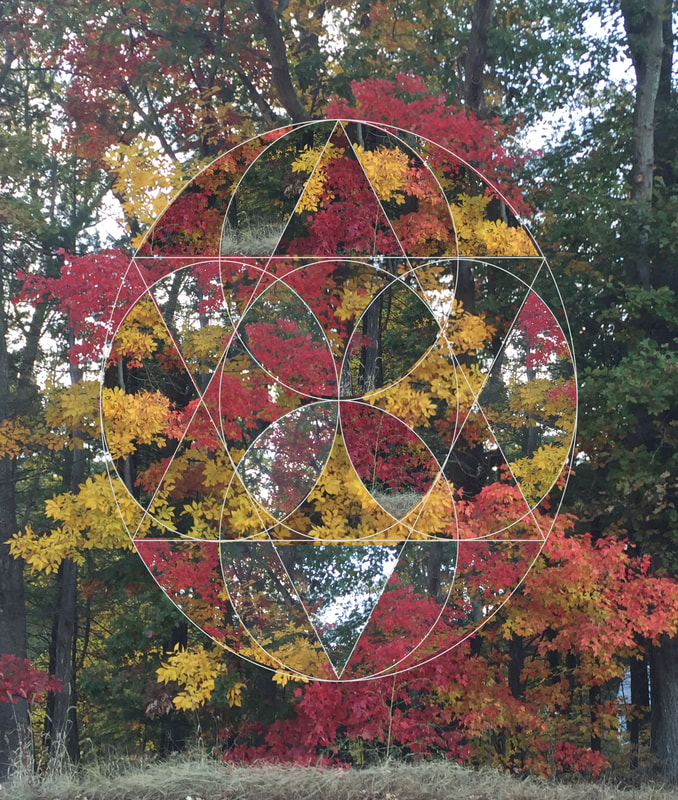
In this project I used a photo that I took and liked and made a couple of cool edits to it. I opened up this photo in photoshop and downloaded a geographic design to it. I started taking parts of the photo and moved it around to construct a new a different way. Then after completing the first piece of art work I made some edits to it with the edges of the geographic shape.
 For this project I went to photoshop and learned how to make a gif with a timeline. I made a trial run(images above). After getting comfortable with the process I made my own. The way that I did this was that I watched a YouTube video on how to do it. I layered 20 different photos and made it so you could see each photo in a specific sequence so that it looks like a gif. Click on the link above to see my first two real ones.
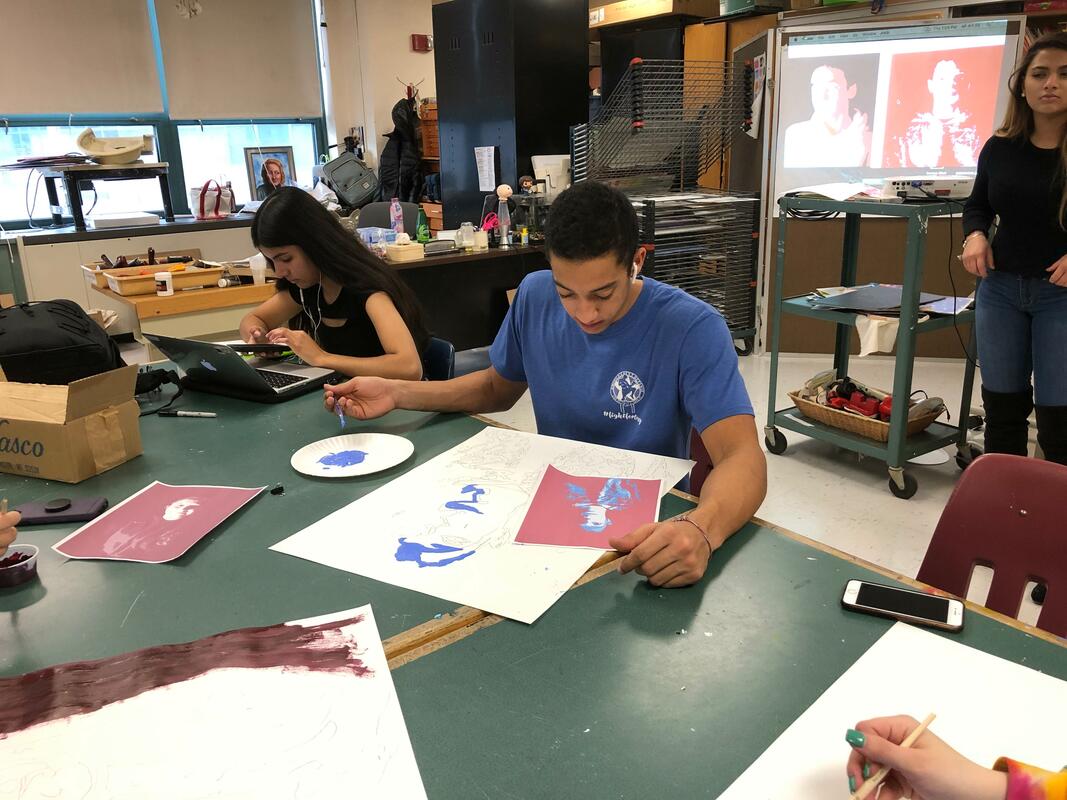
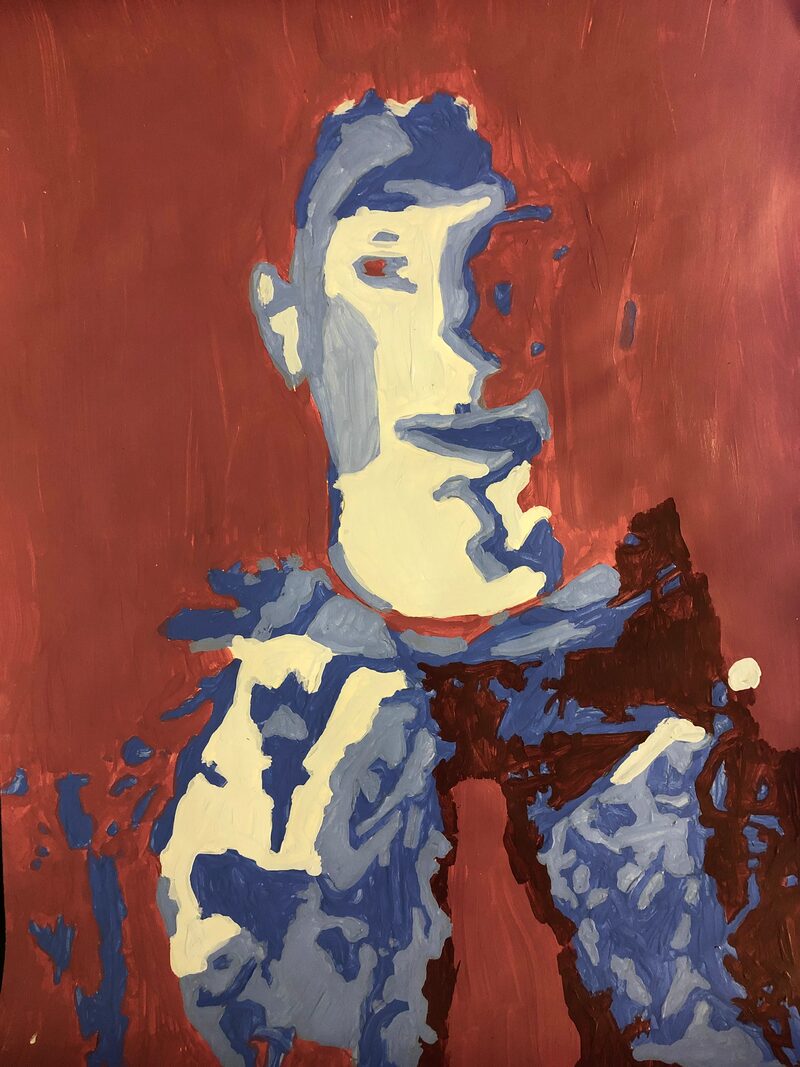
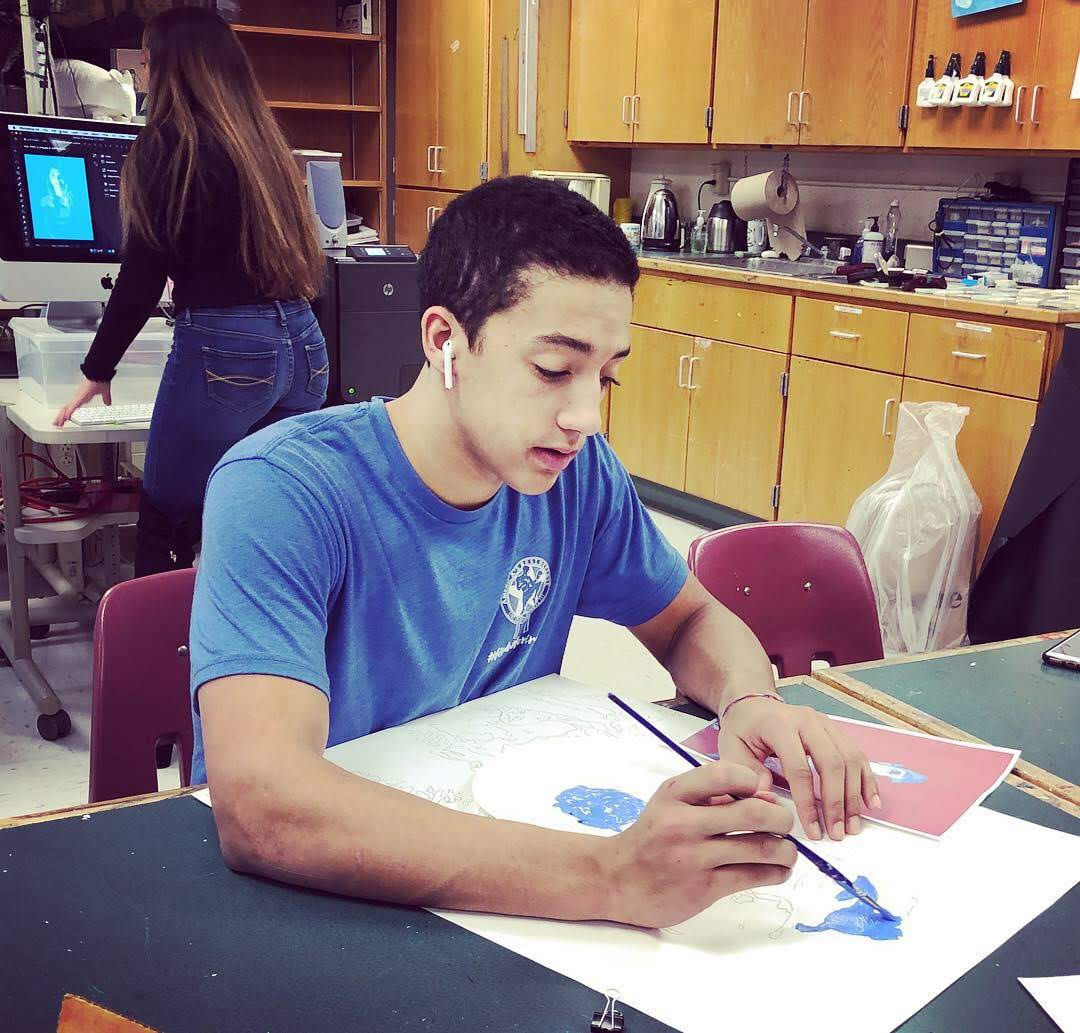
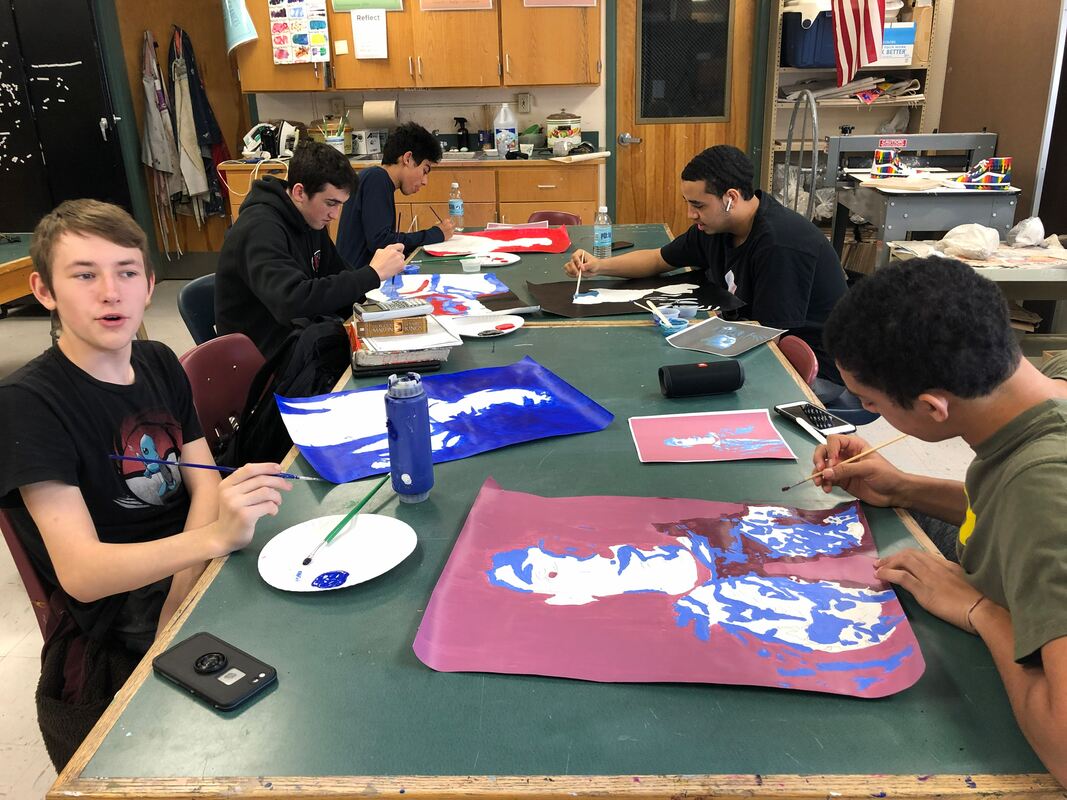
Earlier in the year we made gradient portraits on photoshop. We have recently taken this photo and made them into actual paintings. It was definitely something different and I had a lot of fun doing it. |
SeanI am a black belt, and a martial artist. I love editing pictures, and making my own art on computers. |


 RSS Feed
